


My car licence
Driving is one of the riskiest daily activities that you'll do so preparing yourself and your vehicle is vital.
myLs
Get your Learner’s Permit online.Pre learner
Start learning how to be a safe driver now.Learner's permit
Got your Ls? Learn about special L-rules and conditions.P1 provisional licence
You can now drive independently but there are conditions...P2 provisional licence
Keep building your driving skills and experience.Full licence
It's vital to maintain your driving skills and knowledge.Graduated Licensing Scheme
The staged approach to getting your driver’s licence, including new rules for P plates.L and P Penalties
The Penalties for breaking the rules (Licence Disqualification).The Driver's Handbook
The road rules handbook for all South Australian drivers.The Hazard Perception Test
What to expect in the Hazard Perception Test.Medical fitness to drive
Learn about the fitness to drive requirements in South Australia.Are you worried about someone's driving?
It can be difficult to know what to do if you have concerns about someone’s driving.Older drivers
Learn about the risks older drivers face and keep safe on the roads.International drivers
Tips for international visitors driving on South Australian roads.Supervising a learner driver
Learn how to develop your child's driving skills.Resources
Resources related to being a safer driver.Stay in touch
Join the conversation.FAQ
Frequently asked questions.My motorcycle licence
Riding a motorcycle is enjoyed by people of all ages. However, compared to driving other road vehicles, riding a motorcycle can place you at higher risk than others. If you are involved in a crash, the chances of being injured are very high.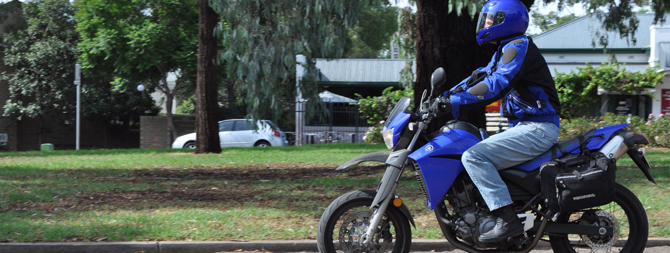
Pre learner
Got your Ls? Learn about special L-rules and conditions.Learner's permit
R-Date endorsement.R-Date class
Licence endorsement.R class
Licence endorsement.Motorcycle Helmets
The Australian Road Rules require all motor bike riders and any pillion or sidecar passengers to wear an approved motor bike helmet.The Rider's Handbook
The road rules handbook for all South Australian riders.Practice Learner's Theory Test
Study up for the Learner's Theory Test.Rider Safe training
Rider Safe is a compulsory motorcycle rider training course for all novice motorcycle riders.Safer riding tips
You can become a safer rider by having the necessary skills.Motor Bike Lane Filtering
It is important that all motor bike riders are aware of the strict conditions that apply to motor bike lane filtering.Moped riders
Moped/scooter riders, like all motorcyclists, are vulnerable on the road.Returning to riding
Take the time to get your skills up-to-date with the Rider Safe Returning Rider Course.Resources
Resources related to being a safer rider.Motorcycle Rider Hazard Simulator
Practise the Motorcycle Rider Hazard Simulator.Stay in touch
Join the conversation.My heavy vehicle licence
The term 'heavy vehicle' applies to the trucks, B-doubles and road trains that transport goods across Australia. It also includes buses, trams, agricultural machinery, livestock transporters, tankers, grain and delivery trucks and other long and possibly slow moving vehicles on our roads. The following provides information on upgrading your licence to a higher class.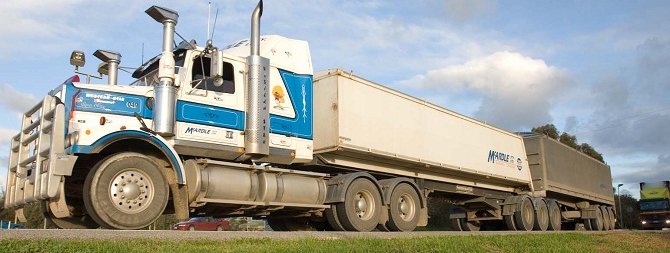
Light Rigid or Medium Rigid
Find out what you need to get your LR or MR class licenceHeavy Rigid or Heavy Combination
Want to get your HR or HC class licence? Find out further here.Multi-combination
Find out how to upgrade to a MC class licence.Heavy vehicle driver's handbook
The Heavy Vehicle Driver’s Handbook is an important guide that provides detailed information on what you need to know to operate a heavy vehicle safely in South Australia.Operating a heavy vehicle
Information on the National Heavy Vehicle Accreditation Scheme.Safe driving tips
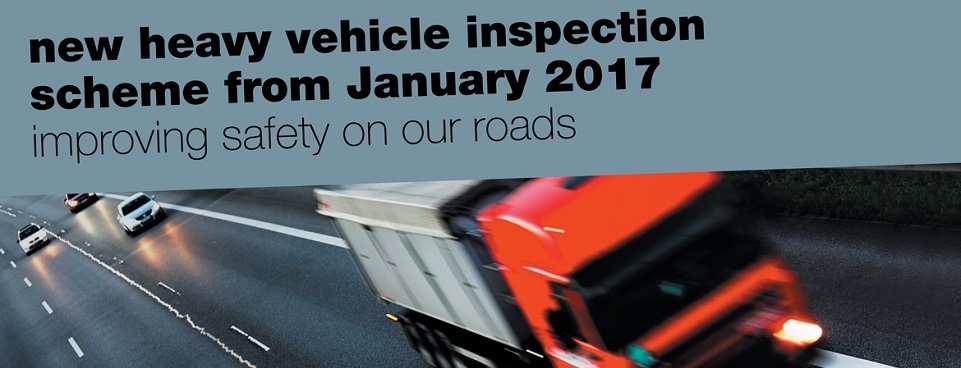
Heavy vehicles are a safety issue because of the distances travelled, their mass and rigidity.South Eastern Freeway
Watch this video before attempting to drive a heavy vehicle down the South Eastern Freeway.Road rules
Is your knowledge of basic road rules up-to-date?The Driver's Handbook
The Driver's Handbook is the road rules handbook for all South Australian drivers.Resources
Resources related to being a safer driver.Stay in touch
Join the conversation.My ultra high powered vehicle licence
A U class licence is a new class of licence that you will need from 1 December 2024 to drive an Ultra High Powered Vehicle (UHPV). An UHPV is a vehicle with a Gross Vehicle Mass not greater than 4.5 tonnes (not including a bus, motor bike or motor trike) with a power to weight ratio equal to or greater than 276 kilowatts per tonne.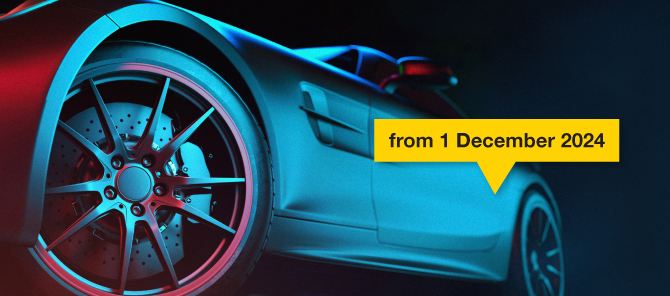
What vehicles are classified as UHPV?
Find out what vehicles are classified as ultra high powered vehicles.Steps to get a U class licence
Find out the steps to obtain a U class licence.U class licence online training
Anyone wishing to drive an UHPV, including existing owners or drivers of UHPVs, will need to undertake this training to be issued with a U class licence.Offences relating to UHPVs
It is an offence to drive an UHPV with an automatic vehicle intervention system disabled.Parents and supervisors
Supervising a learner driver is a challenging experience. It can also be very rewarding. You'll help a young person develop the skills and attitudes they need to become a safer, smarter driver.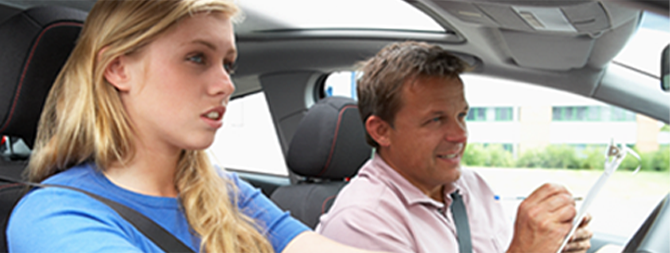
Pre learner
How to help prepare your learner driver for a lifetime of safe driving.Learner's permit
The information you need to know and understand before you supervise a learner driver.Solo driving
Rehearsing solo driving is vital for your learner. Learn tips on practising here.P plater safety
Learn how to reduce road risks for a newly independent driver.Supervising driver tips
Supervising a learner driver is a serious commitment. Help ensure their safety.Reducing crash risks
Read our driving tips for reducing the crash risk of new drivers.Road rules pocket guide
Refresh your knowledge of the road rules before assisting a learner driver here.Buying a car for new drivers
Learn how to make a safer vehicle choice for their first car.Sharing the household vehicle
As the number of car users in a household increases there will be a growing pressure to use the available vehicles.The Driver's Handbook
The Driver's Handbook is the road rules handbook for all South Australian drivers.The Driving Companion
The Driving Companion contains the log book to record your learner’s compulsory driving hours.Resources
Resources to help you become a better supervisor.Stay in touch
Join the conversation.Road rules
Is your knowledge of basic road rules up-to-date? Breaking basic road rules contributes to thousands of avoidable crashes in South Australia resulting in injuries and fatalities each year.
Road rules videos
Watch our videos on a number of commonly misunderstood road rules. Do you know the rules?Road rules pocket guide
The road rules refresher pocket guide outlines some of the most misunderstood road rules.Road rules quiz
Try this quick road rules refresher quiz to check your road rules knowledge.Trucks and buses low gear signs
Trucks and buses must follow Australian Road Rule 108 when driving down a steep road.Riding Motorised Scooters and Skateboards
Rules for Riding Motorised Scooters and Skateboards in South AustraliaE-scooter trial safety rules
Rules for Riding E-scooters in the E-scooter trialThe Driver's Handbook
The Driver's Handbook is the road rules handbook for all SA drivers, including learners.Offences & Penalties
Know the legislation on road rules and most driving offences.Road rule amendments
Click here to see recent South Australian road rule amendments.25km/h Emergency Services speed limit
Drivers are now required to travel at 25km/h when driving through an emergency service speed zone. This law came into effect on 1 September 2014.Stay in touch
Join the conversation.Seatbelts and child restraints
Wearing a seatbelt doubles your chances of surviving a serious crash. Take the time to "buckle up".Resources
Resources related to being a safer driver.Rail safety quiz
Think you know how to be safe around trains? Try this quick rail safety quiz to check your knowledge.Cycling laws
Drivers are required to give a minimum of 1m when passing a cyclist where the speed limit is 60km/h or less or 1.5m where the speed limit is over 60km/h. Cyclists of all ages can ride on footpaths.Cyclist road rules and safety
When you are riding a bike you need to know about bells, lights, helmets, riding abreast, bicycle lanes, give way rules and more. Click here to find the rules, laws and safety tips for cycling in South Australia.Safe driving tips
Driving involves risk and safe drivers aim to reduce and manage their risk.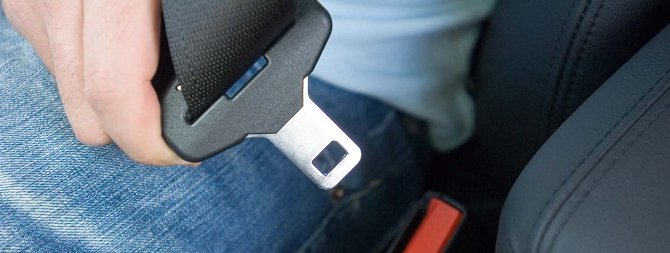
School safety
Learn about road rules and safety tips for driving to and from or in the vicinity of schools.Safer speeds
Speed is a key factor in crashes and road trauma.Alcohol and drugs
Don't mix driving with alcohol or drugs (including medicine).Fatigue
Fatigue is often ranked as a major factor in causing road crashes.Mobile phones
Using a mobile phone while driving increases the risk of crashing by at least four times.Dangerous behaviours
Inattention is an issue in both rural and metropolitan areas, for all people.Know when to cross the line
A level crossing is where the road crosses a rail or tram line. Risk taking around trains and trams is extremely hazardous.Safer vehicles
Buying a car, whether it's for you or your child, is a big responsibility.Country driving
Before you drive in the country make sure you and your car are prepared.Sharing the road
Know your responsibilities and respect the rights to safety of all who share our roads.Driveway safety
Tragically one child, often a toddler, is run over in their driveway every week in Australia.Breakdown safety
Remember to slow down and be cautious if you see flashing amber hazard lights on the side of the roadYellow Ribbon week
South Australia is a supporter of Yellow Ribbon "Drive So Others Survive" National Road Safety Week.Move smart
Keep your travel options open, stay flexible and move smart!Passenger distractions
Simple distractions can increase your risk of a crash by up to four times.Driving at night
Driving at night is dangerous and requires more skills and concentration.High powered vehicles
Provisional licence holders under the age of 25 must not drive a high powered vehicle.Driving age
Getting a driver’s licence isn’t a race. If you don’t need a licence yet, just wait.Practice
Learner drivers who have more supervised practice have shown to have substantial crash reductions.Resources
Resources related to being a safer driver.Are you worried about someone's driving?
It can be difficult to know what to do if you have concerns about someone’s driving.Stay in touch
Join the conversation.Cycling laws
Drivers are required to give a minimum of 1m when passing a cyclist where the speed limit is 60km/h or less or 1.5m where the speed limit is over 60km/h. Cyclists of all ages can ride on footpaths.Cyclist road rules and safety
When you are riding a bike you need to know about bells, lights, helmets, riding abreast, bicycle lanes, give way rules and more. Click here to find the rules, laws and safety tips for cycling in South Australia.Visitors to South Australia
Driving involves risk and safe drivers aim to reduce and manage their risk.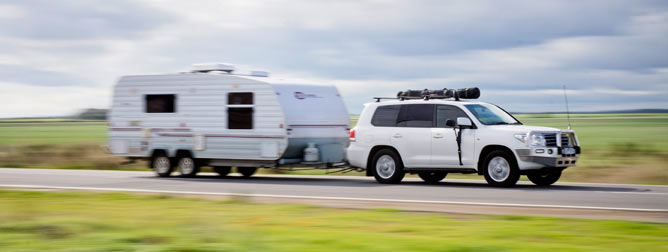
International drivers
If you are a visitor to South Australia - welcome! We want you to enjoy your stay, but more importantly we want you to stay safe. Here are tips and rules for driving in South Australia.Order Visitor Road Rules promotions
If you're a SA company providing services to visitors you can order road rules promotions here.Licence requirements for visitors
Using an interstate or overseas driver’s licence in South Australia and how to apply for a driver’s licence here.The Driver's Handbook
The Driver's Handbook is the road rules handbook for all South Australian drivers, including learner drivers.The Driving Companion
Unit 2: Task 11 - The 3-point turn

Learning Outcome
- The learner will be able to select a safe and suitable location to perform the 3-point turn; and
- The learner will be able to turn the vehicle around safely and competently within the boundaries of a carriageway that is narrower than the turning circle of the vehicle while maintaining full control of the vehicle.
Assessment Standard
The learner will accurately perform parts 1and 2 of this task together without assistance.
The assessment will be a demonstration on at least two consecutive but separate occasions.
Requirements
Selecting a location for the 3-point turn
- Select a suitable, safe and legal place at the kerb to stop;
- Check the centre mirror, then the left mirror (for bicycle riders etc.) and signal left;
- Ensure that there are no obstructions next to the kerb forward of the centre of the vehicle on the left (reversing area);
- Smoothly slow the vehicle (to just above engine idle speed) using the footbrake operated by the right foot.
- (For manuals) push the clutch down just before reaching engine idle speed to prevent stalling while maintaining light pressure on the footbrake;
- Bring the vehicle to a smooth stop without jerking the vehicle;
- Check that the vehicle has stopped;
- if preparing to immediately commence the 3-point turn, ensure the correct gear has been selected in preparation to move off (apply park brake if required);
OR
If intending to fully secure the vehicle, apply the park brake and select neutral (manuals) park (automatics) and release the brake pedal and then (for manuals) release the clutch; - Perform all steps 1 to 8 in sequence;
- Cancel any signal after stopping.
The 3-Point turn (U-turn including reversing)
- Check the centre mirror, then the right mirror, then signal right for at least 5 seconds;
- (If moving off from fully secured) Push clutch pedal down (manuals) / right foot on brake pedal (automatics) select first gear (manuals) / select 'drive' (automatics);
- Apply appropriate power, (and for manuals) clutch to 'friction point';
- Check the centre mirror again, then the right mirror, then over the right shoulder (blind spot check) for traffic (from driveways, roads opposite or U-turning traffic);
- If safe, look forwards (release the park brake as required);
- Accelerate smoothly away from the kerb without stalling or rolling back while turning the steering wheel to the right (while not prohibited dry/stationary steering is not encouraged) until on full lock (if required) and cancel the signal;
- About 1 metre from the right kerb whilst keeping the vehicle moving turn the steering wheel sufficiently to the left (while not prohibited dry/stationary steering is not encouraged);
- Stop before touching the kerb;
- Select reverse gear, apply the park brake if required (holding the button in - optional) and check both directions and behind (over shoulders);
- Move off in reverse without rolling or stalling (continue steering left as required), under full control and continue checking in all directions (moving head and eyes) whilst reversing;
- About 1 metre from the kerb whilst keeping the vehicle moving steer sufficiently to the right (while not prohibited dry/stationary steering is not encouraged) and prepare to move off down the road;
- Stop before touching the kerb;
- Select first gear* or 'Drive'**, apply the handbrake if required (holding the button in - optional) and check both ways for traffic;
- When safe, move off down the road maintaining full control of the vehicle without over-steering (Aim high in steering); and
- (b) Perform all steps 1 to 14 in sequence.
*MANUAL **AUTOMATICS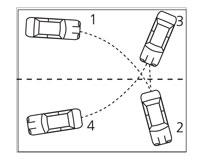
61